
2026-10-08 · Marcus Thorne
Step-by-Step Guide to Temporarily Stopping a Water Heater Leak
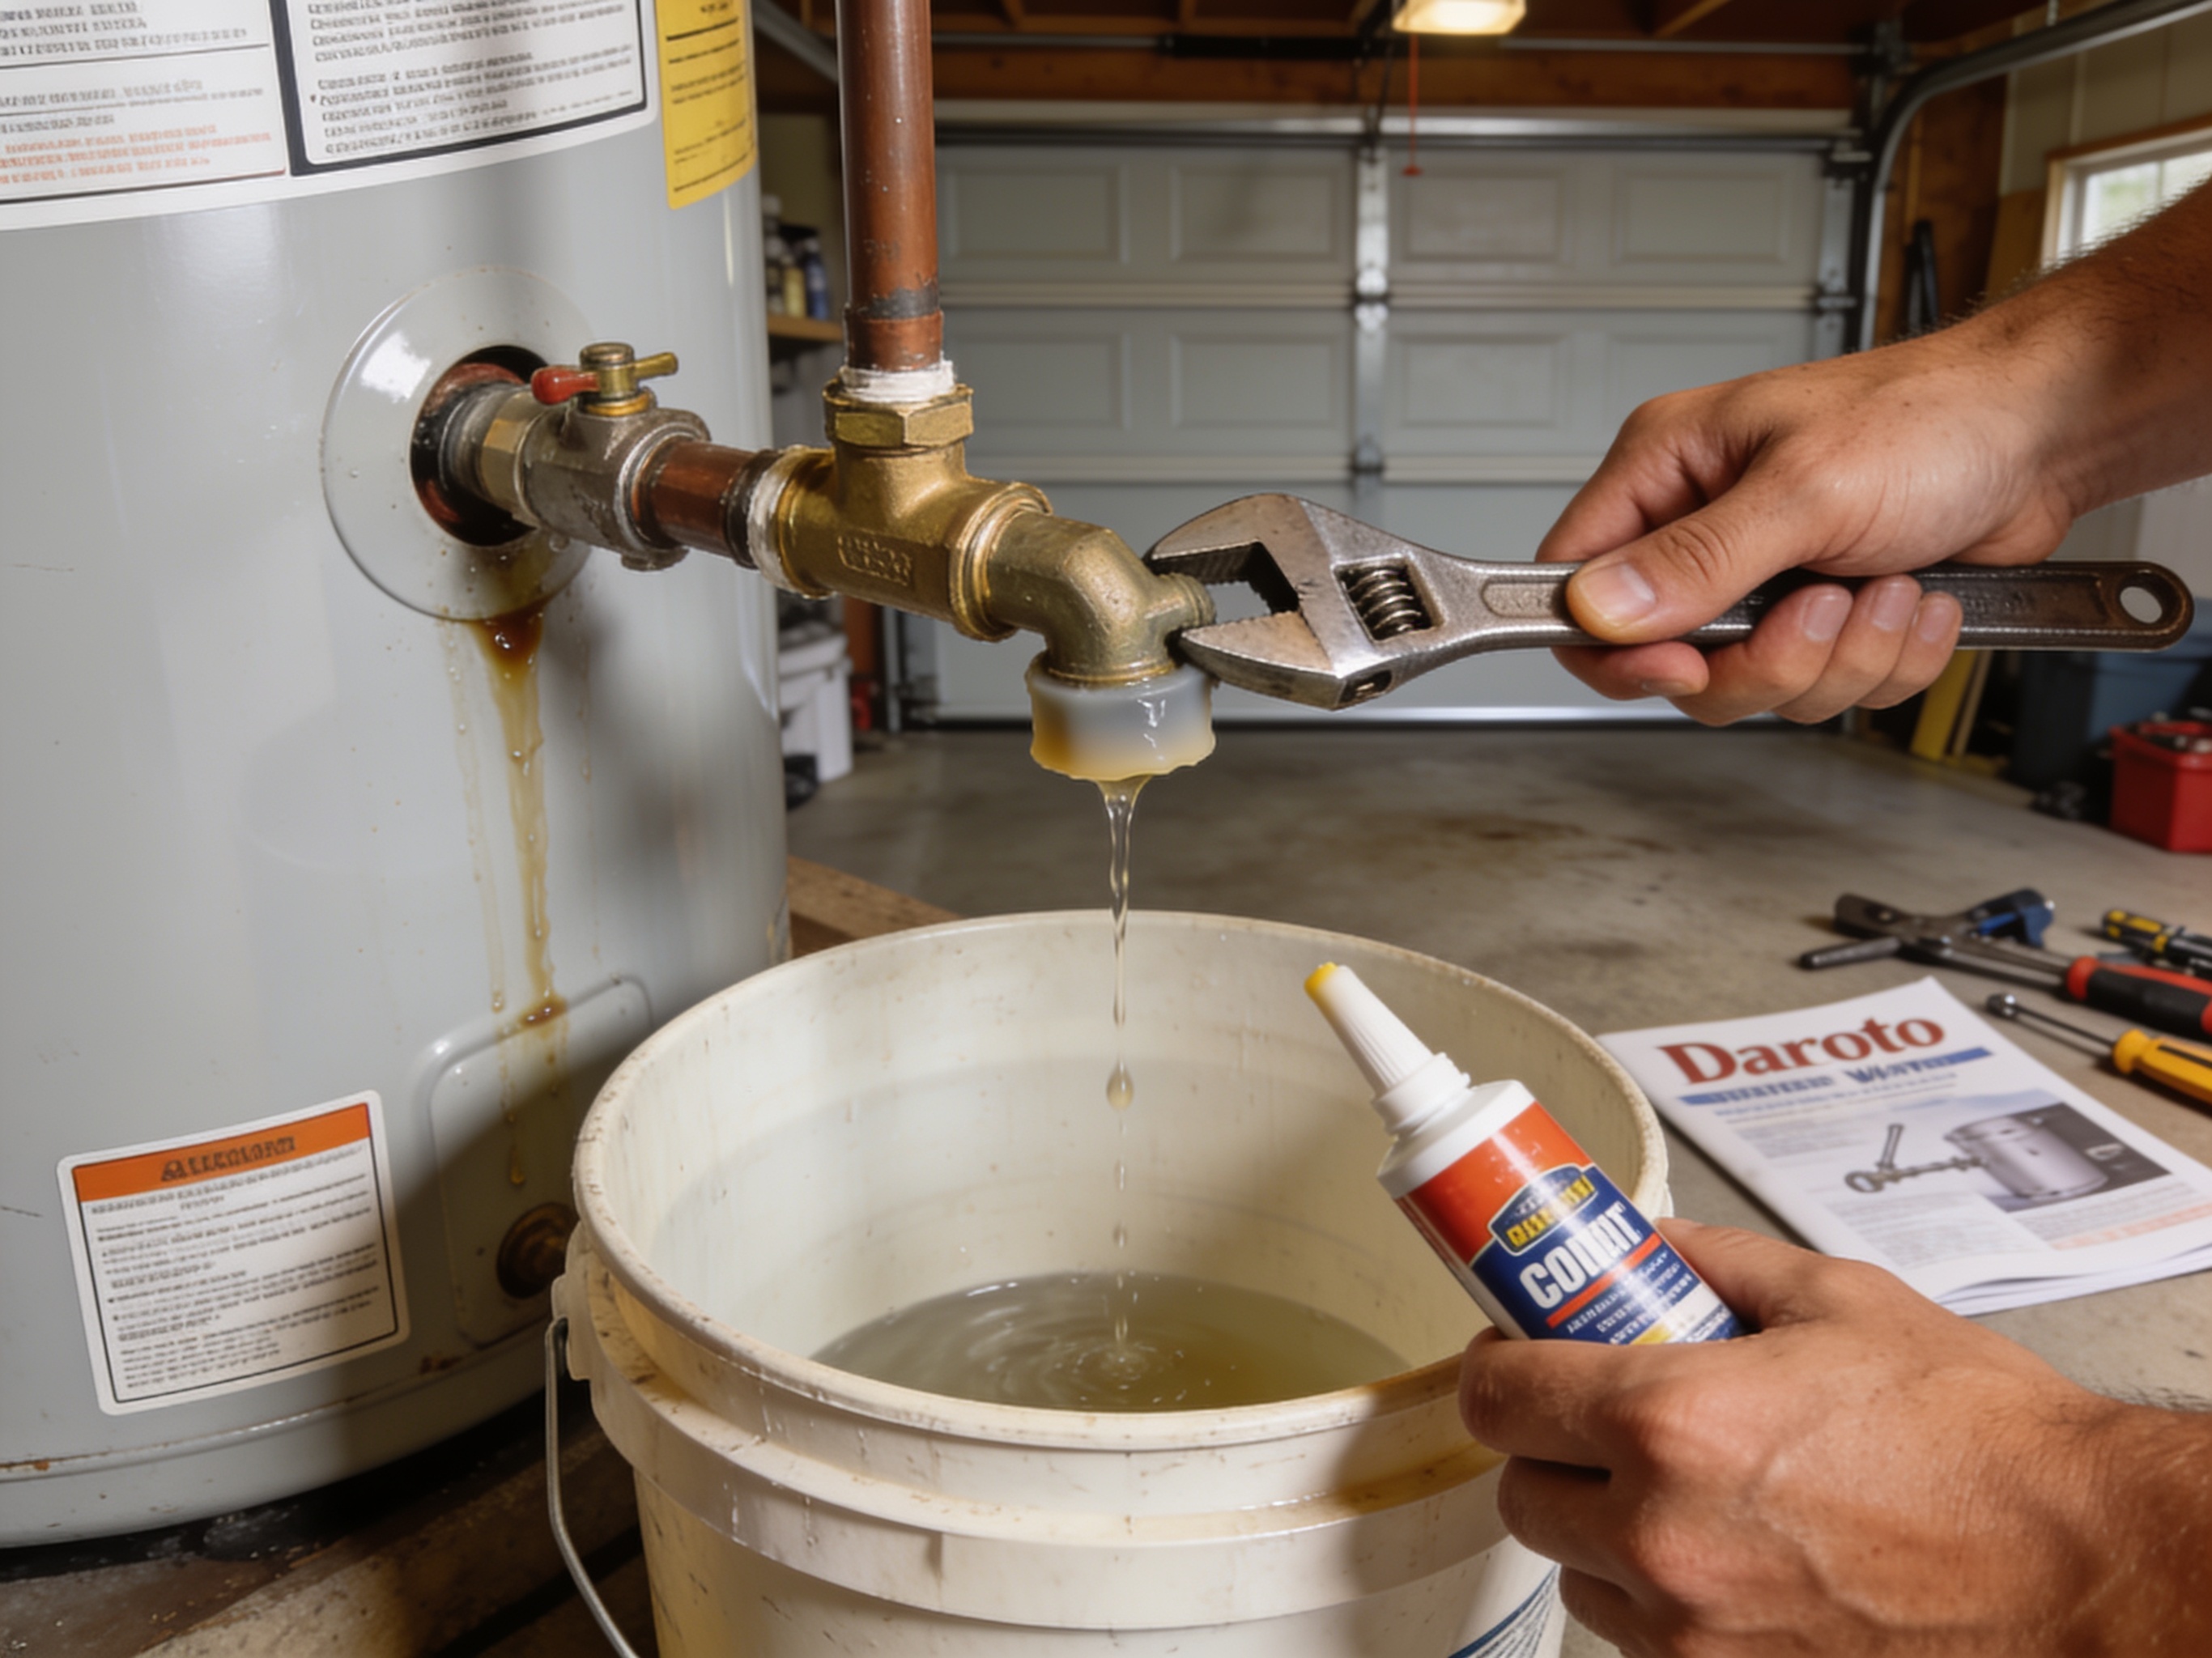
Temporarily stopping a water heater leak involves a series of immediate actions to prevent further water damage and ensure safety until a professional can arrive. You can typically reduce or halt the flow of water within 10–20 minutes by following a few critical steps: shutting off the water supply, cutting power to the unit, and assessing the leak's source. While these steps won't fix the underlying problem, they are crucial for protecting your home, especially in areas like Downtown DeSoto or North DeSoto where many homes have water heaters tucked away in closets or garages, making leaks particularly insidious. Acting quickly can save you from extensive repairs to flooring, drywall, and personal belongings, which is especially important given Dallas County's humid subtropical climate, where prolonged moisture can quickly lead to mold issues.
Prioritize Safety: Shut Off Power and Water
Before you even think about touching the leak itself, your absolute first priority must be safety. For electric water heaters, locate your home's main electrical panel and switch off the circuit breaker that controls the water heater. This is usually clearly labeled. For gas water heaters, you'll need to turn the gas supply valve to the 'OFF' position. This valve is typically a red or yellow handle on the gas line leading into the unit. Ignoring this step could lead to electrocution or a gas leak, which are far more dangerous than the water leak itself. Once power is safely off, locate the main water shut-off valve for your home. This is often found near your water meter outside, in a utility closet, or in the basement. Turn this valve clockwise until the water flow completely stops. If you can't find the main shut-off, look for a dedicated shut-off valve on the cold water inlet pipe at the top of your water heater. This will at least stop water from entering the tank, though any water already inside will still leak out.
Identify the Leak's Source
Once the immediate safety measures are handled, it's time to pinpoint where the water is coming from. A leak can originate from several places, and knowing the source helps you determine the best temporary fix and what to tell your technician. Carefully inspect the entire water heater unit. Check around the top of the water heater for leaks from the cold water inlet or hot water outlet pipes, or even the temperature and pressure (T&P) relief valve. If you see water coming from the very top, it might be a pipe connection issue. Next, examine the middle of the tank; rust or corrosion here often indicates a tank breach. Finally, look at the bottom of the water heater, paying close attention to the drain valve and the base of the tank. Water pooling here could mean a faulty drain valve or, more seriously, a compromised tank bottom. Understanding the leak's origin is key to effective temporary containment and helps us prepare for specific repairs, whether it's a Water Heater Pipe Leak Repair or a more involved Water Heater Leaking From Tank situation.
Contain the Water and Clear the Area
While you're working on identifying the leak, it’s crucial to manage the water already escaping. Grab buckets, old towels, mops, and anything else you can use to absorb or collect the water. If the leak is slow, a single bucket might suffice. For a more significant leak, you might need several buckets and a wet/dry vacuum to keep the area as dry as possible. Position buckets directly under the leak if it's dripping from a specific point. If water is spreading across the floor, create a barrier with towels or sandbags to direct the flow towards a drain or to contain it in a smaller area. Move any valuable items, electronics, or furniture away from the water's path. This preventative measure is especially important in homes near Moseley Park or the DeSoto Recreation Center, where water heaters might be located in utility closets adjacent to living spaces, making quick containment vital to prevent damage to flooring or nearby walls. Remember, even a small, continuous leak can cause substantial damage over time.
Temporary Patching Solutions for Minor Leaks
For very small leaks, particularly those from connections or minor cracks, you might be able to apply a temporary patch. This is not a permanent fix, but it can buy you some time. For leaking pipe connections, you can try tightening the connection with a wrench, but be careful not to overtighten and strip the threads. If that doesn't work, a pipe repair clamp or even a rubber patch secured with hose clamps can temporarily seal a small drip. For tiny pinhole leaks in the tank itself, some homeowners have had limited success with epoxy putty designed for plumbing repairs. Clean the area thoroughly, dry it completely, and apply the putty according to the manufacturer's instructions. Keep in mind that tank leaks often indicate internal corrosion, a common issue for older units in Dallas County, and a patch is merely a stopgap. For more on the causes of such issues, read our article on How Hard Water in DeSoto Accelerates Water Heater Corrosion. These temporary measures are only meant to slow the leak, not eliminate it, and should be followed by a professional repair as soon as possible.
What to Do for a Leaking Drain Valve or T&P Valve
If the leak is coming specifically from the drain valve at the bottom of your water heater, sometimes tightening it slightly with a wrench can stop a slow drip. However, if the valve itself is faulty or corroded, tightening may not work, or it could even worsen the leak. In such cases, you might be able to cap the drain valve temporarily if you have the right fitting, but this is often best left to a professional. For leaks from the Temperature and Pressure (T&P) relief valve, this is a critical safety device. A leaking T&P valve often indicates either excessive pressure within the tank or a faulty valve. Do NOT attempt to cap or plug a leaking T&P valve. This is extremely dangerous and could lead to your water heater exploding. The safest temporary measure is to ensure the discharge pipe from the T&P valve directs water into a drain or a large bucket. Then, immediately call for professional help. A leaking T&P valve always warrants prompt attention from a qualified technician to diagnose the underlying pressure issue or replace the valve safely.